Clay soil gets blamed for a lot of dead shrubs. Sometimes it deserves the reputation: it drains slowly, swells when wet, and sets like brick by August. But most shrubs that fail in heavy ground aren't killed by the clay itself. They're killed by planting techniques borrowed from lighter, sandier gardens — techniques that leave roots sitting in a bowl of water with nowhere to go.
The good news is that the fixes are simple, and almost all of them happen in the first hour the shrub is out of its pot. Get these seven things right and clay becomes a productive, moisture-holding soil that many shrubs genuinely prefer.
Mistake 1: Planting Too Deep
This is the single most common cause of struggling shrubs, in clay or anywhere else. The root flare — the spot where the trunk widens and begins to spread into roots — must stay above the soil surface. Bury it and the bark stays wet, the crown rots, and the shrub declines slowly enough that you blame the soil instead of the planting depth.
In clay, the problem compounds. Heavy soil settles, and a shrub planted exactly at grade on planting day can be an inch or two too deep by the following spring.
Finding the root flare before you dig
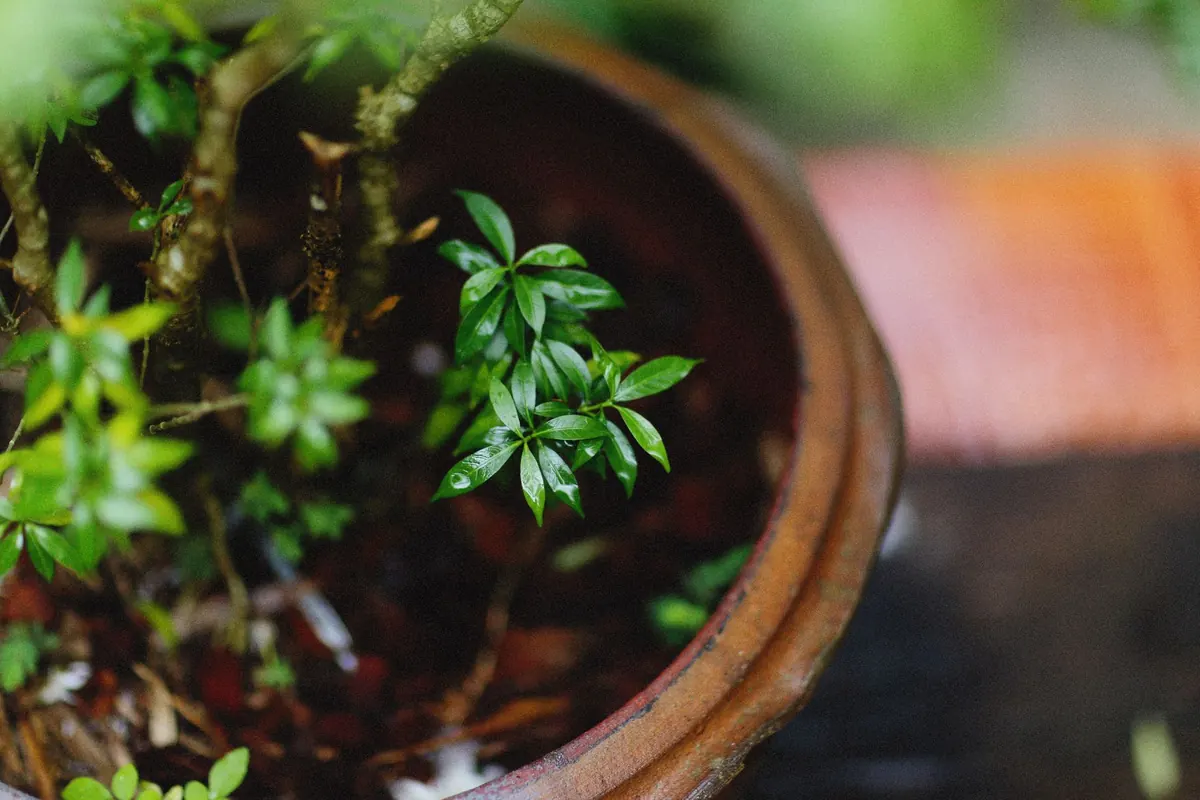
Don't trust the soil level in the nursery pot. Scrape the top inch or two of potting mix away with your fingers until you find where the trunk flares outward. On some container shrubs you'll discover a mat of circling roots or a buried trunk that was potted too deep at the grower. Cut circling roots with clean pruners and plant so that flare sits above the surrounding grade — about an inch or two higher than feels natural.
Mistake 2: Digging a Bathtub
A neat, deep hole in clay is a bathtub with no drain. Water collects in it, the roots drown, and the shrub dies looking drought-stressed — which sends gardeners in entirely the wrong direction.
Dig wide, not deep. A planting hole two to three times the width of the root ball gives roots loose ground to spread into, while a hole only as deep as the root ball keeps the shrub high. Roughen the sides and bottom with a garden fork so the smooth, slick clay doesn't glaze over into an impermeable wall.
Mistake 3: Amending the Backfill Too Aggressively
The instinct is to fill the hole with a rich, loose mix and give the shrub a comfortable start. In clay, that creates a pocket of light soil surrounded by heavy soil. Water moves easily from the loose mix into the surrounding clay and then stops — the pocket becomes a sponge inside a bucket.
Two rules help here:
- Never add sand to clay. It doesn't lighten the soil; it produces something closer to concrete.
- Keep amendment modest. Mix roughly one part compost or aged bark into three or four parts of the native soil you dug out, then backfill with that blend. If the surrounding soil is extremely heavy, using mostly native soil and mulching heavily on top is often the better long-term strategy.
Over several seasons, earthworms and decaying mulch will do more to improve clay than anything you can tip into a planting hole.
Mistake 4: Skipping a Drainage Check
Before you buy the shrub, find out how fast your soil actually drains. It takes twenty minutes and can save you a season of frustration.
- Dig a hole about 12 inches deep and 12 inches wide where you plan to plant.
- Fill it with water and let it drain completely — this saturates the surrounding soil.
- Refill the hole and watch it.
- If the water is gone within a few hours, drainage is acceptable. If it's still there the next morning, you have a genuine drainage problem.
Poor drainage doesn't mean you can't plant. It means you plant on a gentle mound of native soil, build a raised bed, or choose shrubs that shrug off wet feet. What you don't do is dig a hole and hope.
Mistake 5: Watering on a Schedule
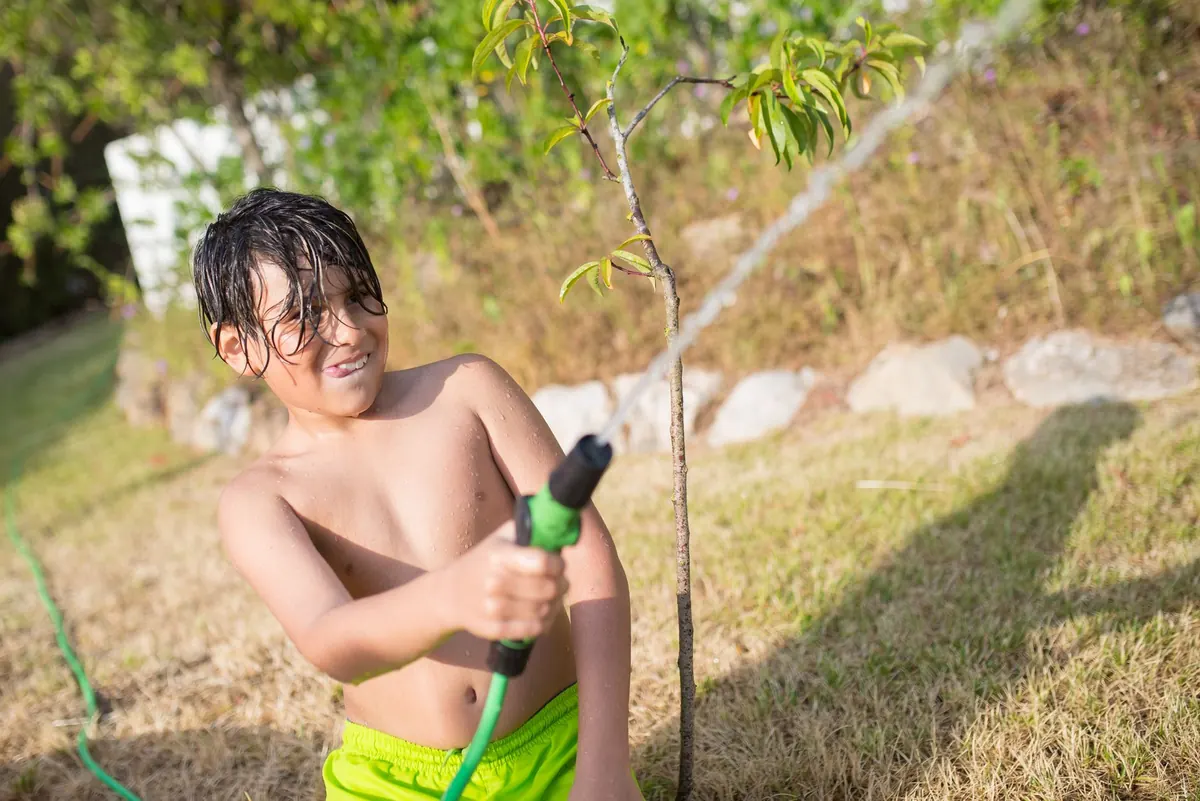
Clay holds water far longer than sandy soil, so a shrub planted in it often drowns under a well-meaning weekly soaking. New shrubs do need consistent moisture through their first season, but "consistent" means checking, not counting days.
Push a finger or trowel two or three inches into the soil beside the root ball. If it's moist, wait. If it's dry, water slowly and deeply at the root zone, then stop. Aim for long, infrequent soaks rather than frequent light sprinkles, and never let the crown sit in standing water.
Root rot rarely announces itself. The first symptoms — yellowing leaves, stunted growth, wilting despite wet soil — look exactly like drought stress. When in doubt, dig down and check before reaching for the hose.
Mistake 6: Mulching Wrong, or Not at All
Mulch is the cheapest clay-improvement tool you have. A two- to three-inch layer of composted bark or shredded leaves moderates soil temperature, slows evaporation, and feeds the soil life that gradually breaks clay into crumbs.
Keep it clear of the trunk. Piling mulch against the stem — the classic "volcano" — traps moisture against bark and invites rot, undoing the care you took at planting. Leave a gap of a few inches around the base, and replenish the layer each spring as it breaks down.
Mistake 7: Choosing Shrubs That Fight the Soil
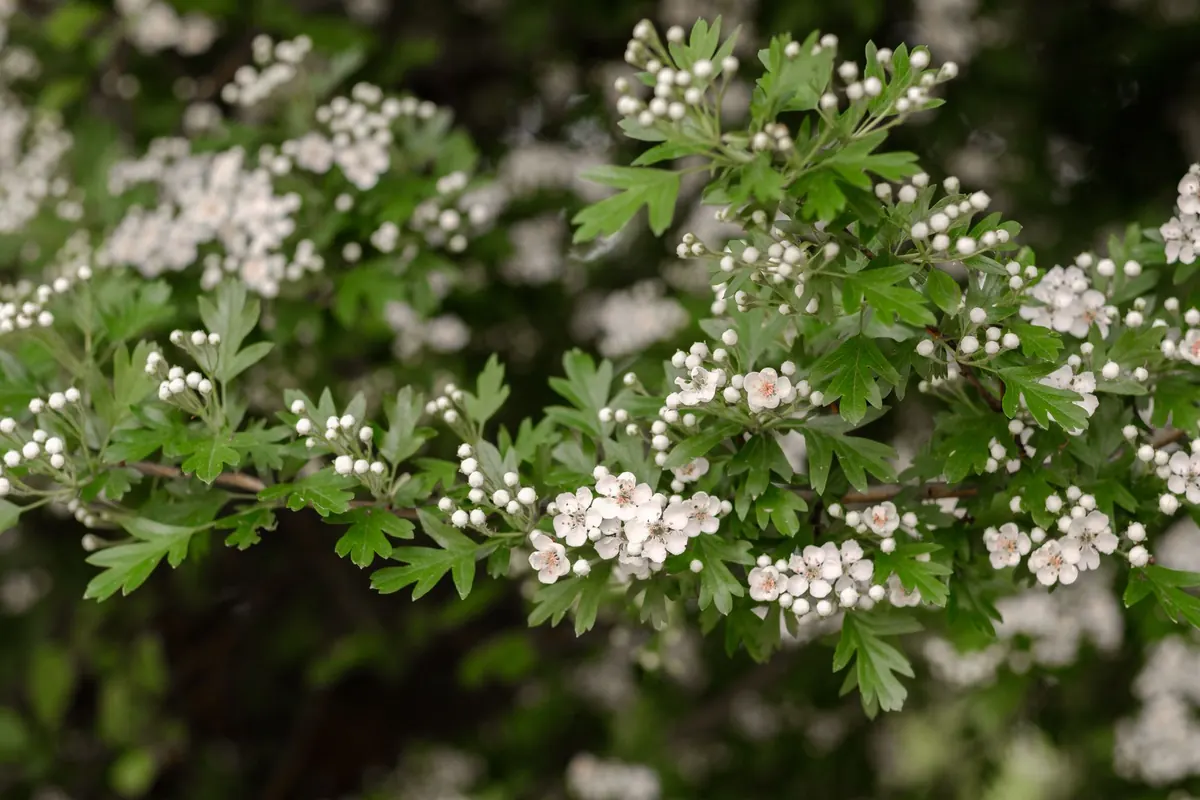
Some shrubs tolerate heavy, moisture-retentive ground well. Ninebark, red-twig dogwood, winterberry, aronia, most viburnums, panicle hydrangea, weigela, and serviceberry all manage in clay, especially when planted properly. Shrubs that demand sharp drainage — lavender, rosemary, daphne, most heathers — will sulk or die unless you give them a raised bed or a slope.
Match the plant to the ground you have and you spend your weekends gardening instead of rescuing.
A Planting Sequence That Works in Clay
- Test drainage first. Choose a mound or raised bed if the hole holds water overnight.
- Find the root flare and mark it.
- Dig a wide, shallow hole — no deeper than the root ball, two to three times as wide.
- Rough the sides and bottom with a fork.
- Set the shrub so the flare sits an inch or two above grade.
- Backfill with native soil blended with a modest amount of compost, firming gently to remove air pockets.
- Water slowly and thoroughly once, then mulch two to three inches deep, keeping it off the trunk.
Clay will never behave like loam, and that's fine. It holds nutrients and moisture that sandy soils lose, and once you stop fighting it, it grows shrubs beautifully. Plant high, dig wide, amend lightly, and let the worms finish the job.
Photo: Alexey Demidov / Pexels